
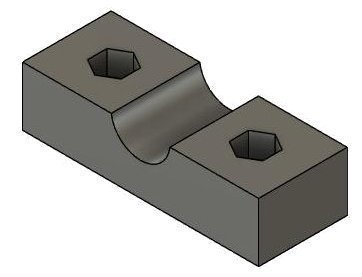
Bottom Rotisserie Bracket
Infill Density: 40%
Increase wall count to 6 or 8
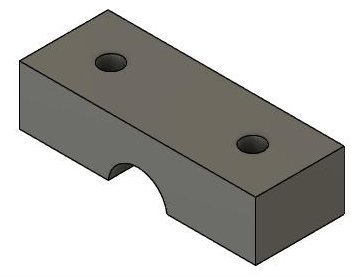
Top Rotisserie Bracket
Infill Density: 40%
Increase wall count to 6 or 8
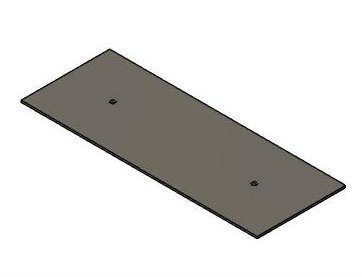
Drill Template
This only prints 2 layers. Use whatever
settings that's quick and easy for your printer

Knob
Infill Density: 50%
Increase wall count to 6 or 8
Vertical Spacer
Infill Density: 50%
Default wall count of 2